3 Rules for Stellar Homemade Vegan Cheese
Vegan cheesemaking pro Miyoko Schinner shares essential tips for making life-changing vegan cheeses.
July 15, 2014
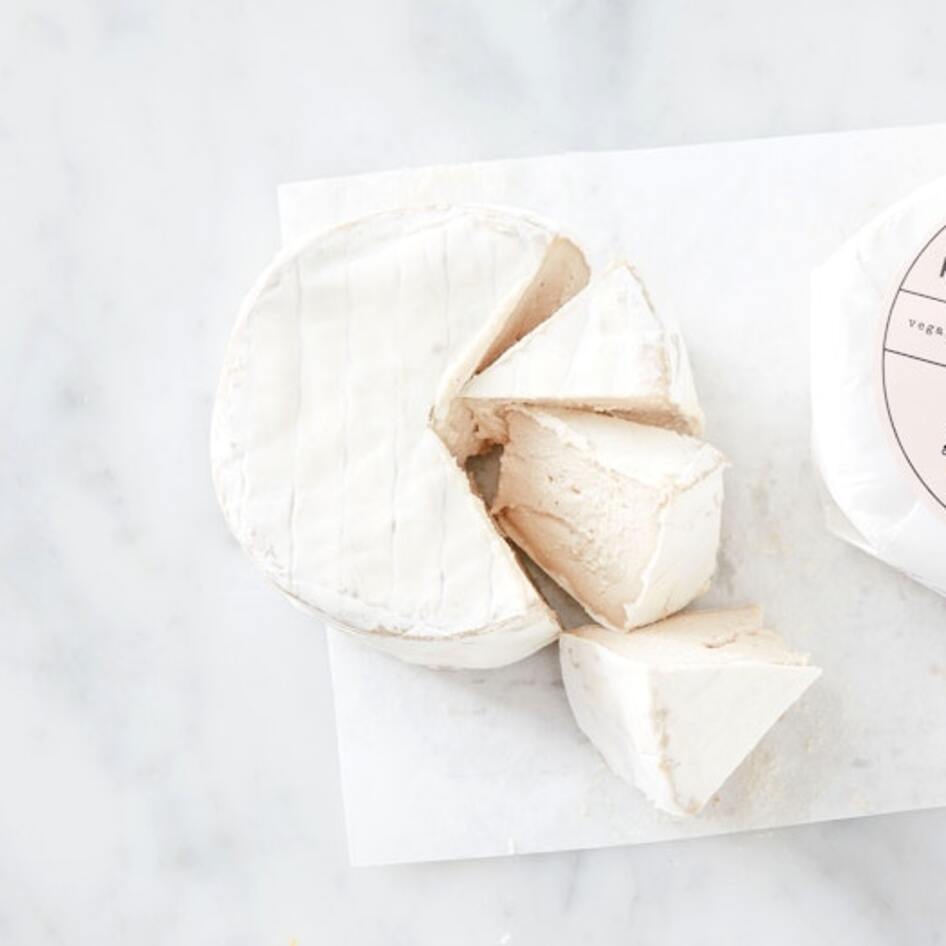
Cheese reliance is a phenomenon that’s hard to explain. People are seriously addicted. When a cheese lover is asked if they could go vegan, they usually respond with some variation of, “I could do it, except for the cheese” (spoken in a melodramatic and desperate tone). While in the past, the idea of consuming any form of dairy-free cheese might have made certain individuals gag, we are finally moving past the dark days of cheese-less wine dates and rubbery sandwich fillers and heading to a new age. While commercial vegan cheese companies’ products continue to evolve—becoming as creamy and meltable as ever—co-founder of the soon-to-launch Miyoko’s Kitchen cheese company and author of Artisan Vegan Cheese Miyoko Schinner is transforming the notion of “vegan cheese” into something sophisticated, gourmet, and robust. Her mouthwatering recipes featured in VegNews’ September+October 2012 edition, aka “The Cheese Issue,” turned the biggest nonbelievers into gloating, I-can’t-believe-it’s-not-cheese connoisseurs.
After 20 years of dreaming about homemade gourmet dairy-free cheese, Schinner finally decided to test her chemistry skills in the kitchen. Lucky for her (and us), she nailed it—down to the last wedge of aged chèvre. But just like Rome wasn’t built in a day, the skills of the best cheesemongers cannot to be achieved instantaneously. With the help of the expert herself, Schinner is here to teach you all of the tricks she has up her sleeve. And do not be saddened if you think your culinary skills are not up to par with the cheese guru’s, because these three vegan cheese laws are for every individual, kitchen size, and wallet.
1. Patience is a Virtue
Ready to make delicious, homemade vegan cheese? Not so fast. Schinner says cheesemaking requires patience, so you have to take your time; otherwise, you might end up with something that looks more like a mysterious blob instead of a block of savory goodness. Cheese is not something to concoct in a hurry; cheese gets better with age for good reason. Rushing around the kitchen throwing in whatever you think might enhance your cheese’s flavor will only leave you disappointed and cheese-less. Schinner recommends soaking the nuts that will serve as the base of your cheese for six to eight hours before blending to ensure that all of the nuts are milled effortlessly. Sans blender? If all you have is a whisk, vegan cheesemaking is still a possibility! Schinner encourages beginners (and the impatient) to start off making non-dairy yogurt cheeses. Since the yogurt is already cultured, the cheesemaker can focus more on the whisking, or herb flavorings for the ultimate cheesy fix.
2. Tools of the Trade
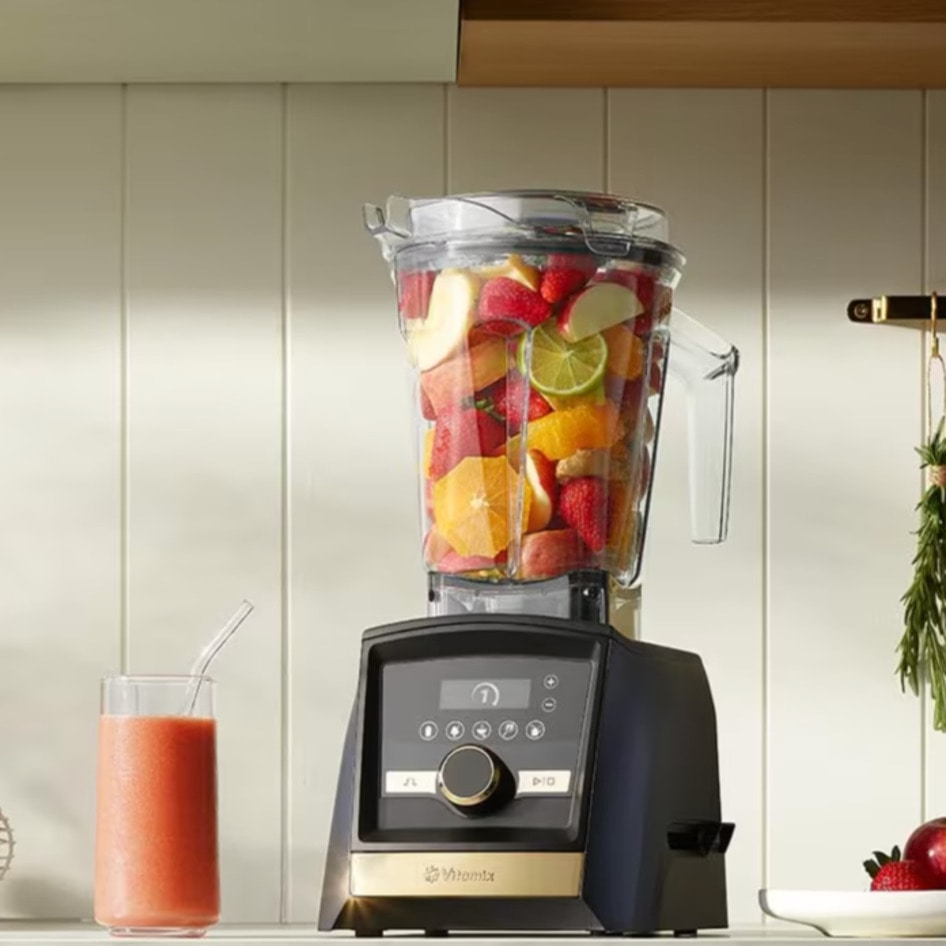
In Schinner’s experience, blenders trump food processors. But if you are in love with your food processor, feel free to use it for all of your fromage fancies. High-speed blenders are obviously the most convenient, and Schinner maintains that a high-speed blender is one of the best investments you can make—especially if you plan on making a lot of cheese. But Schinner advises, “You don’t need an expensive blender.” Schinner owns both a Vitamix and a Blendtec, which not only aid in her cheesemaking, but also come in handy for soups, smoothies, and more. A cheesecloth and nutbag are kitchen must-haves for the draining and preparation process. And if you want to shape your cheese in specific ways, cheese molds are readily available at most kitchenware stores. For the aging process, cookie racks will do, but if you want to go all-out and turn vegan cheesemaking into a full-time hobby, a wine fridge provides the ultimate cavern for your cheeses to mature inside.
3. The Secret Ingredient
Rejuvelac, a fermented grain water, isn’t the prettiest sounding name, but just wait until you see what it can do for your cheese. The mixture provides your fromage with a sharpness and complexity that is often times lacking in commercial dairy-free cheeses. Rejuvelac can generally be purchased at natural food stores, but making it at home is much more economical and doesn’t take much effort. Schinner suggests using quinoa, brown rice, or wheat berries that have not sprouted to ferment in water when making homemade rejuvelac. “You first sprout the grain, then cover it in water and let sit for two to three days until it’s cloudy and tangy,” informs Schinner, adding that rejuvelac can be stored in the refrigerator for up to two weeks. Rejuvelac and non-dairy yogurt help achieve the same aged taste, but produce totally different flavors overall. Schinner says that sometimes she picks between the two cultures, but will occasionally use both for some of the air-dried cheeses such as gouda.
These tricks of the trade will allow you to turn your kitchen into a luxuriant Parisian fromagerie. Harness the power of patience, arm yourself with the tools to get it done, and age your cheese to perfection. Before you know it, you’ll have the most buttery Brie to spread thick onto crackers while you relax and sip on a glass of chilled Sauvignon (while the next batch ages, of course).
JUMP TO ... Latest News | Recipes | Guides | Health | Subscribe
Photo: Vanessa K. Rees
