5 Rules for Making Vegan Chocolates at Home
A rich, smooth chocolate confection is a joyous thing. Follow these essential tips to create your own DIY holiday gift.
November 27, 2017
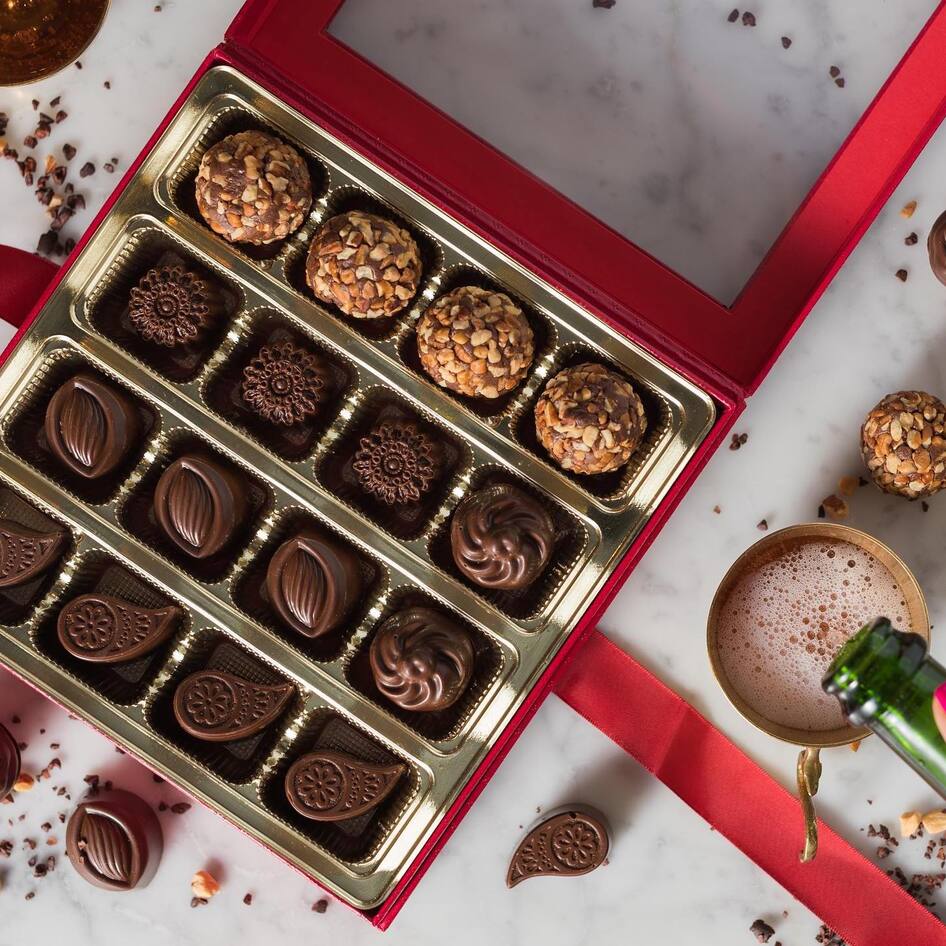
Within the last 10 years, the demand for quality vegan confections has soared, which means you can now easily order vegan truffles in heart-shaped boxes online. But as the necessity of making vegan sweets at home disappears, it becomes extra special to put in the effort and give a gift that is homemade.
To create something you’re proud to share with the loves of your life, the most important first step is investing in some good quality dark chocolate (70 percent or higher). Once you’ve stocked up, follow these simple tips to make your confections the quintessential DIY sweet gift.
1. Take time to temper.
If you want to make stellar chocolate that is dipped, coated, or shaped in molds, tempering is a must. This method melts the chocolate slowly enough to stabilize the cocoa butter, ensuring a glossy shine that holds its shape and prevents blooming—those white streaks or specks that appear on the surface of the chocolate once it sets up.
The simplest way to temper chocolate is through a process called seeding. Place half of your chopped chocolate in a double boiler (a heat-proof bowl set over a pot of simmering water), making sure the chocolate doesn’t heat above 110 degrees F and the bottom of the bowl doesn’t touch the water. Stir slowly until the chocolate is melted, then turn off the heat and add the remaining chocolate. Stir and allow the chocolate to cool to about 88 degrees. To test, coat the back of a spoon with the chocolate and place it in the fridge for about five minutes. If it comes out smooth with a slight sheen, then kudos to you! You just tempered chocolate.
2. Don’t over-stir your ganache.
Ganache is the standard filling for truffles. For that super smooth texture your loved ones will swoon over, you need to practice the proper method. First, finely chop your chocolate and place it in a shallow bowl. Warm your non-dairy milk or cream over medium-low heat to just under a boil, and then pour over the chocolate. Allow it to sit undisturbed for five minutes, and then slowly whisk until the ganache is glossy and smooth. Chill until firm, then roll into balls.
3. Use coconut oil to create a glaze.
Do away with the powdered sugar and cocoa powder and create a quality glaze for drizzling on cake or ice cream. Melt the chocolate (chopped up finely) over a double boiler. Add melted coconut oil one teaspoon at a time to the chocolate, just until it is thin enough to drizzle from a fork. The coconut oil firms beautifully once chilled, so if you pour it over a scoop of ice cream, you’ve got an instant magic shell.
4. Use molds for perfect bonbons.
Molds are magic makers. Pour your tempered chocolate into a silicon or plastic mold, then fill it with creamy cashew caramel or a maple peanut butter, and you’ll pop out perfect bonbons every time. Flexible silicone molds are ideal for complicated shapes like hearts and stars, but plastic molds work for making a bar studded with jewels of dried fruits. Molds are an inexpensive investment and they do a lot to elevate the elegance of your results. If you end up with a lip or an edge, a sharp pairing knife and a steady hand can smooth everything out.
5. Handle transfer sheets with care.
Using transfer sheets (plastic sheets with cocoa butter designs screen-printed on top) to transform your homemade truffles is a trick straight from a chocolatier’s confectionary case. When applied to melted chocolate, it bonds as the chocolate cools; when the plastic backing is removed, the design remains. Try making simple chocolate decorations: line the bottom of a small square pan with a transfer sheet cocoa butter design side-up. Melt chocolate using the tempering method above. Carefully pour the chocolate in a thin layer onto the transfer sheet and rotate the pan so the chocolate levels out. Place the pan in the fridge to firm up. Once solid, remove the plastic backing and break the chocolate into pieces. These make first-class cupcake or brownie toppers.
Arm yourself with these tips and tools and before you know it, you’ll have the practice and patience to create the ultimate vegan chocolates in your own kitchen—just in time for the holidays.
Nicole Axworthy and Lisa Pitman are food writers and bloggers who think dairy-free chocolate is one of nature’s greatest gifts.
JUMP TO ... Latest News | Recipes | Guides | Health | Subscribe
Photo: Nicole Axworthy
